


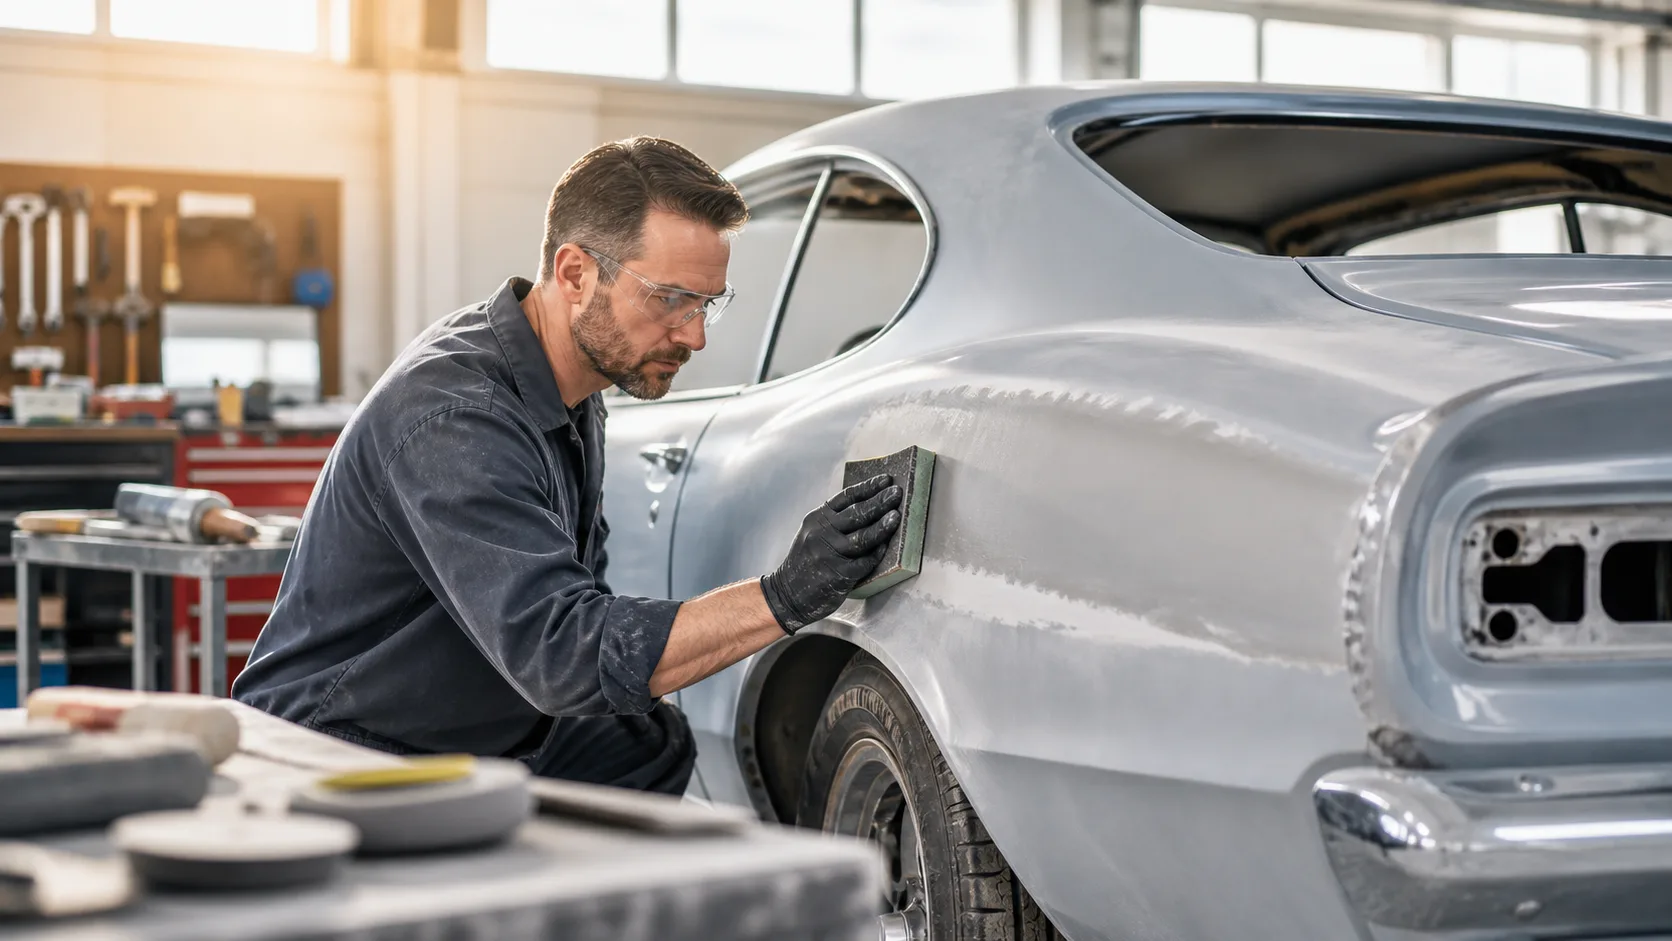
How to Smooth Out Quarter Panel Welds Before Coating
Posted on: October 22, 2026 in Restoration Guides
Smoothing out welds on classic car quarter panels can be one of the most satisfying steps in restoration. When this part of the body looks clean and blends naturally, everything that follows just fits better. It sets up your lines, your blocking, and how the primer coats.
Fall is a good time to handle this work. Hot weather is fading, you’re less likely to fight against sweat or sticky conditions, and there’s still enough daylight to see what you’re doing with clarity. Weld cleanup often reveals where body seams are solid and where something still needs work. If welds get coated too early, especially when hidden flaws or trapped moisture exist, problems show up later during the colder months. Taking your time now protects your investment in primer, paint, and all the hard labor along the way.
Prep the Surface for Grinding
Before hitting any welds with a wheel or disc, the area needs to be cleared and clean. Junk buildup hides the edges and adds friction. That only burns through tools faster and makes precision harder to control.
Start by going over the area to remove anything still sitting on the weld bead. This often includes sealant, leftover weld-through primer, or bits of burnt edge that flaked during the original weld. If you’ve done any work in humid air, check for flash rust as well.
To keep things clean and manageable:
- Use a wire brush or scraper to remove hard crusts or residue
- Knock off sealants using a plastic blade to avoid scratching surrounding panel areas
- Mask off panel lines nearby with painter’s tape, particularly if you’re working close to finished edges
This step may feel minor, but it keeps your grinder from loading up on grime or metal bits. It also exposes the weld clearly so you can control how much to remove without digging past where you need to be.
Choose the Right Tools for Weld Cleanup
Grinding down a fresh weld takes the right layered approach. Starting aggressive can help flatten the high spots, but tightening up later with soft moves is where the panel comes back to life.
Here’s a basic order we like to follow for smoothing welds:
- Begin with a flap disc or traditional grinding wheel to take down the weld bead, just until it begins to fade into the surrounding surface
- Switch to a finer grit or sanding disc as the weld flattens out. This step starts blending things into the original panel shape
- Use abrasive rolls or smaller contact wheels to reach tight curves, especially around wheel arches or inner lips
Avoid digging too deep, especially on older panels. The goal here isn’t to erase the weld entirely. You want to knock it down enough so the surface is level, but not so much that you’re weakening the structure around the seam.
Pay attention to how long your tool spends in one spot. If you feel heat building, back off. Heat warps thin metal, and quarter panels are often more vulnerable than they look once you’re cutting into areas that don’t show on the outer skin.
Blend the Welds Without Over-Grinding
Once the raised portion of the weld is gone, blending comes next. This is where raw grinding transitions into actual shaping. It’s as much about the touch as the method.
We always check the natural curve of the quarter panel before blending. Some classic car quarter panels have long straight runs. Others curve under or dip toward the rear wheel openings. That factory shape matters. It’s what eyes follow when paint catches the light later.
To stay on track when blending:
- Use a body file to follow the panel line, checking for sections that sag or wave
- Hold a straight edge against the metal to feel for dips or high ridges caused by heat
- Keep movement smooth and light, almost like sanding, but with control
Over-grinding can pull a low spot into the panel that wasn’t there before. It might not look bad now, but under a coat of paint or across a glossy primer, it’ll show. Stop often, walk around the panel, and check it from different angles. This isn’t a step to rush.
Finish Prep Before Coating
With the weld flush and matched to its surroundings, now’s the time to go in with fine-tuning. Even high-grit abrasives leave marks, and those marks transfer right through thin primer coats.
This is where hand-sanding pulls its weight. You’ll feel more through your fingers than you’ll see by eye, especially if you’re working in a shop with mixed lighting.
To clean things up before coating:
- Hand-sand welded zones with appropriate grit paper, hitting only the areas that will take filler or direct primer
- Use wax and grease remover to wipe down the panel once sanding is complete. This gives you a clean view of minor scratches or marks still left behind
- Double-check that the backside of the panel seam is sealed, water can still make its way through unprotected welds during colder, damp seasons
Even in dry fall air, that last point matters. Welds can look good on the outer face but still let condensation drift in from the back. Any moisture sitting between seams during the winter can bubble the coating or weaken joints over time.
Keep Panel Work Solid Through Fall
By late October, temperatures start to drop in most places. Coating classic car quarter panels after welds have been properly smoothed and blended makes a huge difference down the road.
Too often, people miss the chance to close out bodywork before the cold really hits. Primer reacts differently in colder air, and surface contamination builds faster when the work sits unfinished. Getting welds crowned, feathered, and sealed while conditions are still dry helps everything stick better and hold up longer.
Here’s what we prioritize finishing before the season shifts:
- Smooth any visible welds on quarter panels and seal the seam edges
- Prep the full panel face with final sanding while the air’s still working in your favor
- Lay protective coating evenly across new weld joints while the panel surface is totally clean
When the finishing steps aren’t rushed, quarter panels stay straight and problems stay small. Fall might be the last clean shot before months of cold air mess with the process. Taking the time now means bodywork starts fresh in spring instead of playing catch-up.
Get Ahead of Cold-Weather Surface Issues
Fall prep often decides whether a clean panel stays clean through winter or turns into a redo. When welds on quarter panels are left rough or skipped altogether, they snag debris or draw in condensation that sits unseen.
Smoothing those spots now doesn’t just make the final coat look better. It helps the panel hold its shape, resist expansion problems, and prime right the first time. That makes future work like blocking or paint correction easier. A smooth base always rewards the next stages of body prep, no matter when the car goes in for its final color.
At Classic Body Parts, we understand how important fitment and finish are when restoring a daily driver or your long-term project. As you prepare panels ahead of winter, remember to check your parts inventory. Our full lineup of body-specific components includes Dynacorn panels that match factory lines right from the factory. Explore our selection of classic car quarter panels or reach out for expert help with specifications, availability, or guidance on your next steps.
Related Articles
Guide to Checking Door Panel Hardware on Classic Muscle Cars
Classic muscle cars deliver power, sound, and character. But behind the big engines and polished paint, it’s the small things like hardware that keep everyth…
What You Should Inspect in Truck Fenders Before Winter
Truck fenders take on a lot over the year. Rain, mud, road salt, loose gravel, heat cycles: all of it slowly wears them down. But when colder weather starts …
Understanding Camaro Body Panel Years for Accurate Matching
Matching Camaro body panels by year isn’t always as simple as it sounds. From the outside, many model years may look similar, but small shifts in body lines,…