


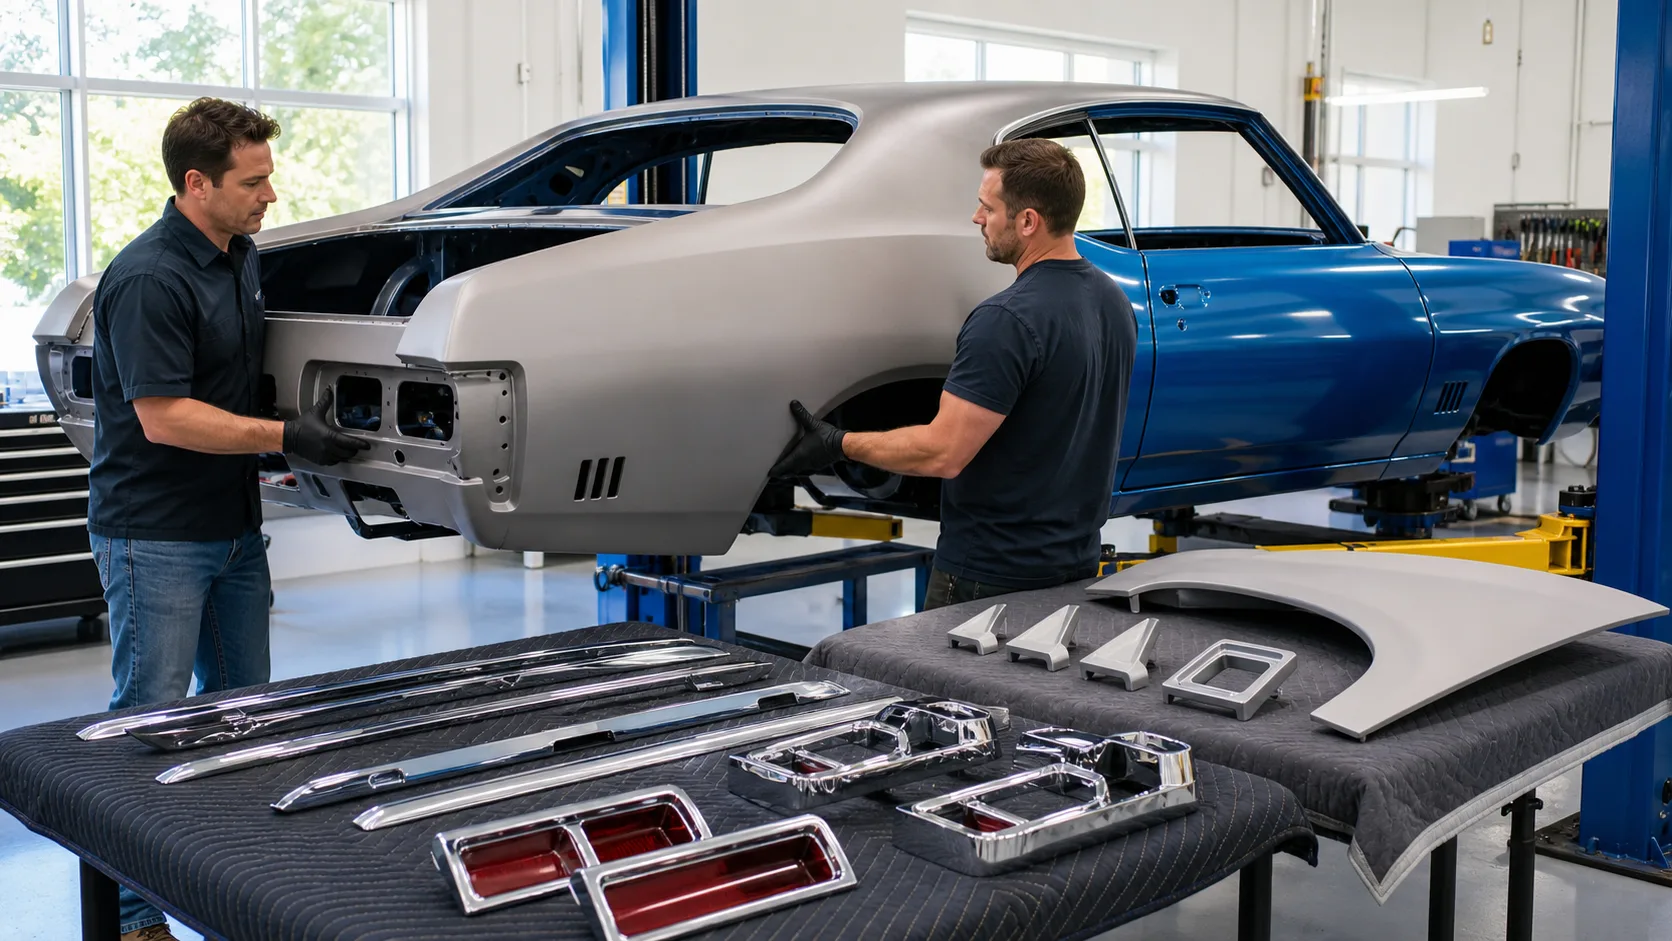
How to Restore a Classic GTO After Panel Removal
Posted on: September 17, 2026 in Restoration Guides
Restoring a classic GTO after the body panels are removed can feel overwhelming at first. You’re staring at a bare frame or skeleton of what was once a beautiful muscle car. But this stage is where you set the tone for everything that comes next. The fit and placement of every new part starts here.
GTO body panels affect how the final car looks, drives, and stays together. Too many people try to rush this part, but that often leads to ongoing problems with alignment, door function, or body gaps. Once the panels are off, it’s really about rebuilding the car from the ground up. This step usually lands right in the middle of a typical restoration project. With fall events coming fast, now’s the time to lock in your structure so finishing work doesn’t get delayed later in the year.
Putting the Structure Back Together
Before anything else, the frame and mounting points need to be solid and properly aligned. If the GTO was hit, bent, or rusted out, even just a little, panel fitment will never go smoothly until those problems are corrected.
Here are the key things we always check before installing anything:
- Is the frame straight and square corner to corner?
- Are mounting tabs, firewall seams, and rocker channels clean and intact?
- Are suspension mounting points solid and not distorted from pressure or rust?
A level measuring surface helps a lot here. When the base is true, everything you bolt or weld afterward will land how it should. That’s the only way to avoid odd door gaps or fenders that sit too high on one side. Starting with structure sounds basic, but this is where it all either works or fights you down the line.
Dry-Fit First: Checking Fitments Before Final Install
Before final welding or mounting, a dry-fit tells you where you’re headed. Fit up the major GTO body panels, including the doors, front fenders, hood, and rear quarters. Nothing is tightened yet, but everything should be hung and sitting in place.
This gives you a full view of how the panels interact. You get a feel for body lines, symmetry, and clearances. Doors should open easily, with consistent gaps at the leading and trailing edges. Hoods should close without interference, and trunk seams should look centered with the tail panel.
A basic panel fit order we follow often goes like this:
- Hang the doors and set the gap using the rockers.
- Mount the quarters to match the doors and trunk channel.
- Set the fenders to the hood and door alignment points.
- Adjust the hood and core support until the nose lines up.
That flow helps avoid rework if one area throws off another. Panels should never be forced into position just to look right. If adjustments feel difficult, that’s usually a clue something upstream needs another look.
Welding and Sealing for Long-Term Strength
Once everything lines up and dry-fitting shows good balance, it’s time to lock it in. Welding in GTO body panels takes some care, especially if you’re working next to older metal that’s thinner or has gone through repairs. Going slow here saves major headaches later.
For areas like floors or high-stress joints, spot welds spaced properly recreate the original look and strength. Where possible, we firm up seams with seam welds, but only where heat won’t warp large surrounding surfaces. Too much heat buildup pulls the metal, even warps doors or fenders if you’re not cautious.
After welding, seams need to be sealed up right away. We focus on drip rails, wheel arches, trunk edges, and firewall junctions. These are common spots where moisture sneaks in and causes bigger problems. Seam sealer gets worked into gaps before paint ever touches the surface and adds long-term protection under daily use or storage.
Panel Finish Prep Before Bodywork and Paint
Now is when the panels are permanent and attention turns to making them smooth. We sand all seams, knock down high welds, and check along the panel edges. A clean surface matters, but so does getting your panels to flow well from one to the next.
We look for:
- Low spots or waves visible when light hits at an angle.
- High weld seams or uneven joints between panels.
- Edges that need adjusting to match adjoining pieces.
Finish prep starts with coarse sanding to remove minor flaws and smooth out weld zones. We usually work our way up in grit, checking panels with our hands more than just our eyes. When the surface feels consistent from one corner to another, it’s ready for epoxy primer or filler if needed.
Panel Replacement That’s Built to Last
Restoring a classic GTO isn’t fast work. It takes time to get each panel sitting just right, especially when parts are new and the base structure might have some age on it. But getting a strong, clean body together now saves time and stress going into fall.
When GTO body panels align and seal properly, sanding and bodywork move faster. Paint lays out better. Doors shut clean and seams stay tight. All those things matter on cool weekend drives or when you park next to other builds at the local cruise night.
Every step that comes after panel work feels smoother once this part is done well. Finish your structure now so you can enjoy the build when cooler weather hits and the hard work finally pays off.
At Classic Body Parts, we understand the dedication that goes into panel restoration and alignment. When you’re ready to fit or replace essential components, using reliable parts sets your project up for success. For dependable fitment and smoother progress, choose high-quality materials like our selection of GTO body panels. Every build deserves a finish that stands out on the road and in the garage, so reach out to us and keep your project moving forward.
Related Articles
Guide to Checking Door Panel Hardware on Classic Muscle Cars
Classic muscle cars deliver power, sound, and character. But behind the big engines and polished paint, it’s the small things like hardware that keep everyth…
What You Should Inspect in Truck Fenders Before Winter
Truck fenders take on a lot over the year. Rain, mud, road salt, loose gravel, heat cycles: all of it slowly wears them down. But when colder weather starts …
Understanding Camaro Body Panel Years for Accurate Matching
Matching Camaro body panels by year isn’t always as simple as it sounds. From the outside, many model years may look similar, but small shifts in body lines,…