


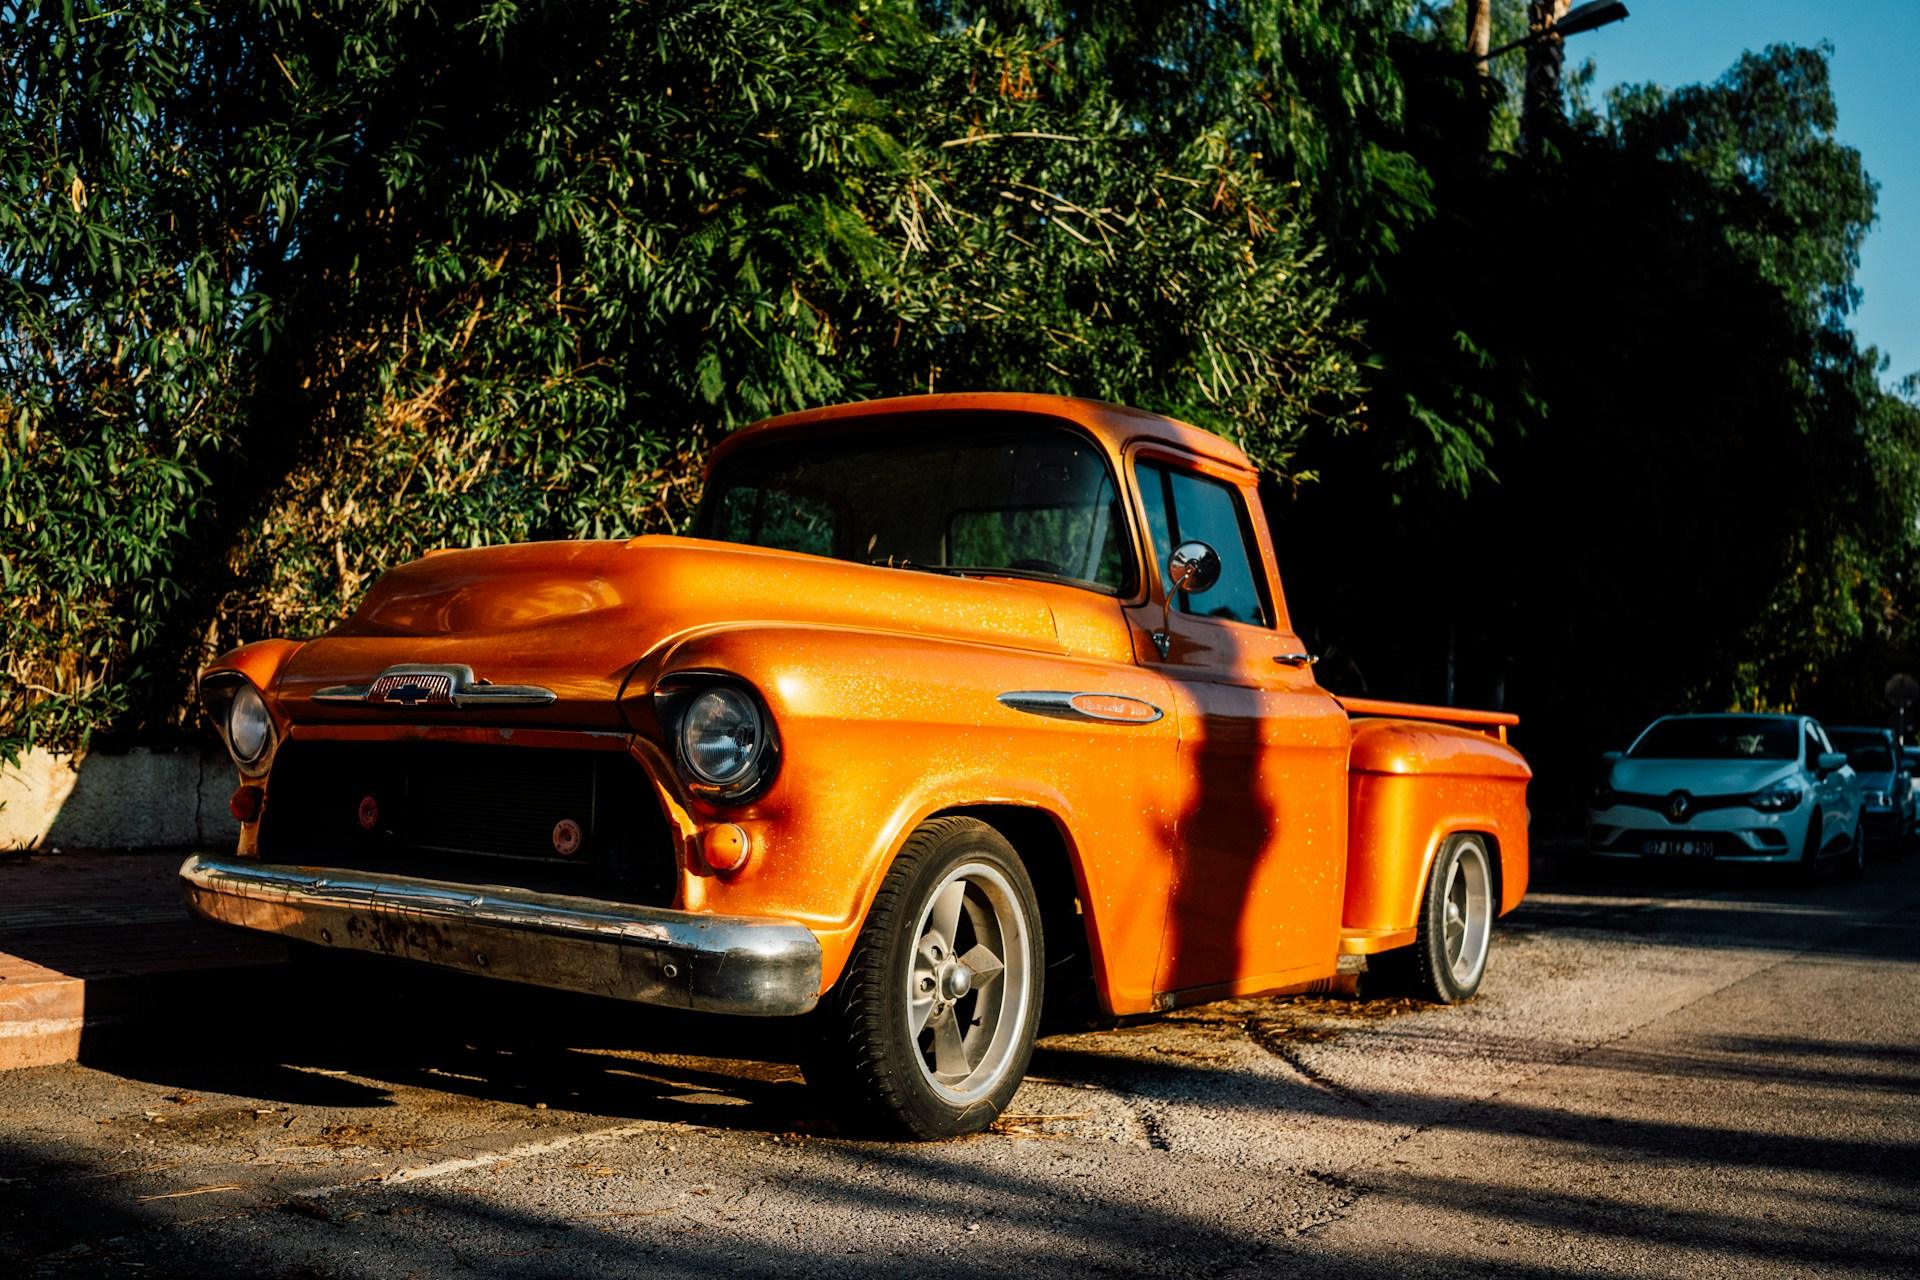
Tips for Getting Even Panel Gaps on Vintage Truck Bodies
Posted on: September 6, 2026 in Restoration Guides
Lining up body panels on a vintage truck can be one of the trickier parts of a restoration. It seems like it should go quick, but getting those gaps just right takes more than bolting things together and tightening a few bolts. Uneven gaps can make a solid project look sloppy, and they don’t just mess with the truck’s looks. Gaps that are too tight or too loose start to rattle, wear down edges, and throw off how doors and hoods open or shut. When we’re working with classic truck body parts, small changes in fit can cause big headaches later. Instead of playing catch-up, there are several steps we can take early that make the job smoother. From checking the frame to test-fitting every panel, a clean setup goes a long way toward better gaps and fewer surprises.
Check Your Truck’s Frame Before You Start
No matter how square the door or fender looks, it won’t line up right if the frame underneath is twisted. It sounds basic, but it’s one of those things we can’t afford to skip. Rust, old damage, bad welds, or just years of stress can bend a frame enough to throw off the whole body alignment. Trying to muscle panels into place without fixing the root cause just creates more issues.
Before we hang anything, it helps to walk around the frame and look closely at the contact points. Surface rust can hide deeper problems. If the frame rails sag or don’t sit even from side to side, panels will never sit flush no matter how much adjusting we do. A tape measure across diagonals and some basic leveling tools go a long way. If it feels like something might be off, it’s better to address the base than force-fit body parts that weren’t the problem in the first place.
Test Fit Panels Before Final Mounting
Once we’re confident the frame is straight, it’s time to test-fit the panels. That means no final sealer, no paint, and no locked-down bolts yet. We’re just checking how everything hangs and fits together. Some vintage parts, even clean repro panels, come with slight variations. Mounting everything up before we commit lets us find trouble spots before they turn into paint problems.
Doors, hoods, and fenders rarely go on by themselves. Putting them on together in a rough setup helps show where the lines might be off. One low corner on a fender bracket or a slightly twisted hood hinge can change how all the other parts fit. That’s why we try to put all the major panels on at once when checking panel gaps.
During fit-up, only tighten bolts enough to hold position but still allow movement. This way, we can nudge panels into place without damaging anything. It’s not about getting everything perfect on the first go, just about learning where we’ll need to adjust later.
How to Adjust Panel Gaps for a Balanced Look
This part takes patience more than anything else. Even when the panels are from good sources, we still have to fine-tune how they sit. What we’re aiming for is not identical side-to-side spacing, but something that looks consistent and feels right for the truck.
Most adjustments come down to three things:
- Shimming door hinges front to back or top to bottom where needed
- Using slotted brackets to shift fenders or bedsides slightly left or right
- Adjusting bumpers and stoppers so nothing rubs when opening or closing
We’ve seen gaps tighten too much near a hood catch or sag down around the rear of a door if new hinge pins weren’t used. Those are simple tweaks, but the key is spotting them early so we can avoid cutting or reworking later. If one panel move throws off another, back up and rebalance. There’s no rule that gaps should all be exactly one width throughout, but they should flow smoothly from one panel to the next.
Using High-Quality Body Parts for Less Work
Not every part is the same even if it looks like it should be. Lower-grade panels can have soft edges or curves that aren’t quite right, which makes alignment drag out far longer than it needs to. We’ve found that using well-made panels, especially stamped parts from trusted names like Dynacorn, cuts out a lot of time we’d usually spend fitting and shaping.
When we’re working with classic truck body parts, areas like bed sides and cab corners often give us the most trouble. Those parts see a lot of wear and tend to collect rust, which means we’re usually replacing them anyway. Working with better-fitting replacements gives us cleaner seams and easier weld lines right from the start. The less time we spend grinding or bending, the more time we can spend tightening up details and getting a factory-style finish. Better metal means better results. Classic Body Parts carries Dynacorn bed floor assemblies, cab corners, and bedside panels for popular Chevrolet and Ford truck platforms, many of which are listed in stock and ready to ship within just a few business days, so panel gap work can move forward without long delays.
Panel Prep and Proper Hardware
Once a test fit looks good and we’ve got gaps within reason, now we look at how hardware and prep can make or break the final alignment. Worn-out door latches, old striker bolts, or sagged hinges can undo hours of lining things up. Small parts have a big role here.
Before final installs, we try to run through this checklist:
- Replace door pins, latches, and bumpers if they feel loose
- Add weatherstripping only after gaps are set, not before
- Use proper shims or wedges to support panels while tightening bolts
It’s tempting to torque everything down once it looks good. But we like to hold off until the full cab and bed are settled, just in case something else shifts. Only when everything is square and gaps are clean from every angle do we move ahead with tightening fasteners for good. That keeps panels in place and prevents tension that leads to cracking or rubbing down the road.
Finish Strong with Gaps That Last
Getting solid panel gaps is one of those things that tells people we took the time to do the build right. It’s not flashy, and most won’t even spot the work unless it’s off. But we notice it every time we shut a door or open the hood and it clicks in without effort.
A little planning, solid parts, and steady adjustments go a long way. The final result is more than a clean body line. It’s fewer rattles, fewer paint chips, and more confidence when that vintage truck gets back on the road. Every time we take those extra steps up front, the payoff shows later.
Starting your truck restoration with panels that line up properly saves time and delivers a more authentic finish, and at Classic Body Parts, we know high-quality materials make a real difference. Whether you’re fitting new cab corners or doors, choosing the right parts streamlines your project and helps achieve the results you want. Our catalog includes thousands of Dynacorn parts for classic trucks, from individual patch panels to full bed and cab assemblies, giving you options that match original dimensions. Browse our full selection of classic truck body parts to find the perfect fit, and reach out to us if you need any assistance.
Related Articles
Guide to Checking Door Panel Hardware on Classic Muscle Cars
Classic muscle cars deliver power, sound, and character. But behind the big engines and polished paint, it’s the small things like hardware that keep everyth…
What You Should Inspect in Truck Fenders Before Winter
Truck fenders take on a lot over the year. Rain, mud, road salt, loose gravel, heat cycles: all of it slowly wears them down. But when colder weather starts …
Understanding Camaro Body Panel Years for Accurate Matching
Matching Camaro body panels by year isn’t always as simple as it sounds. From the outside, many model years may look similar, but small shifts in body lines,…