


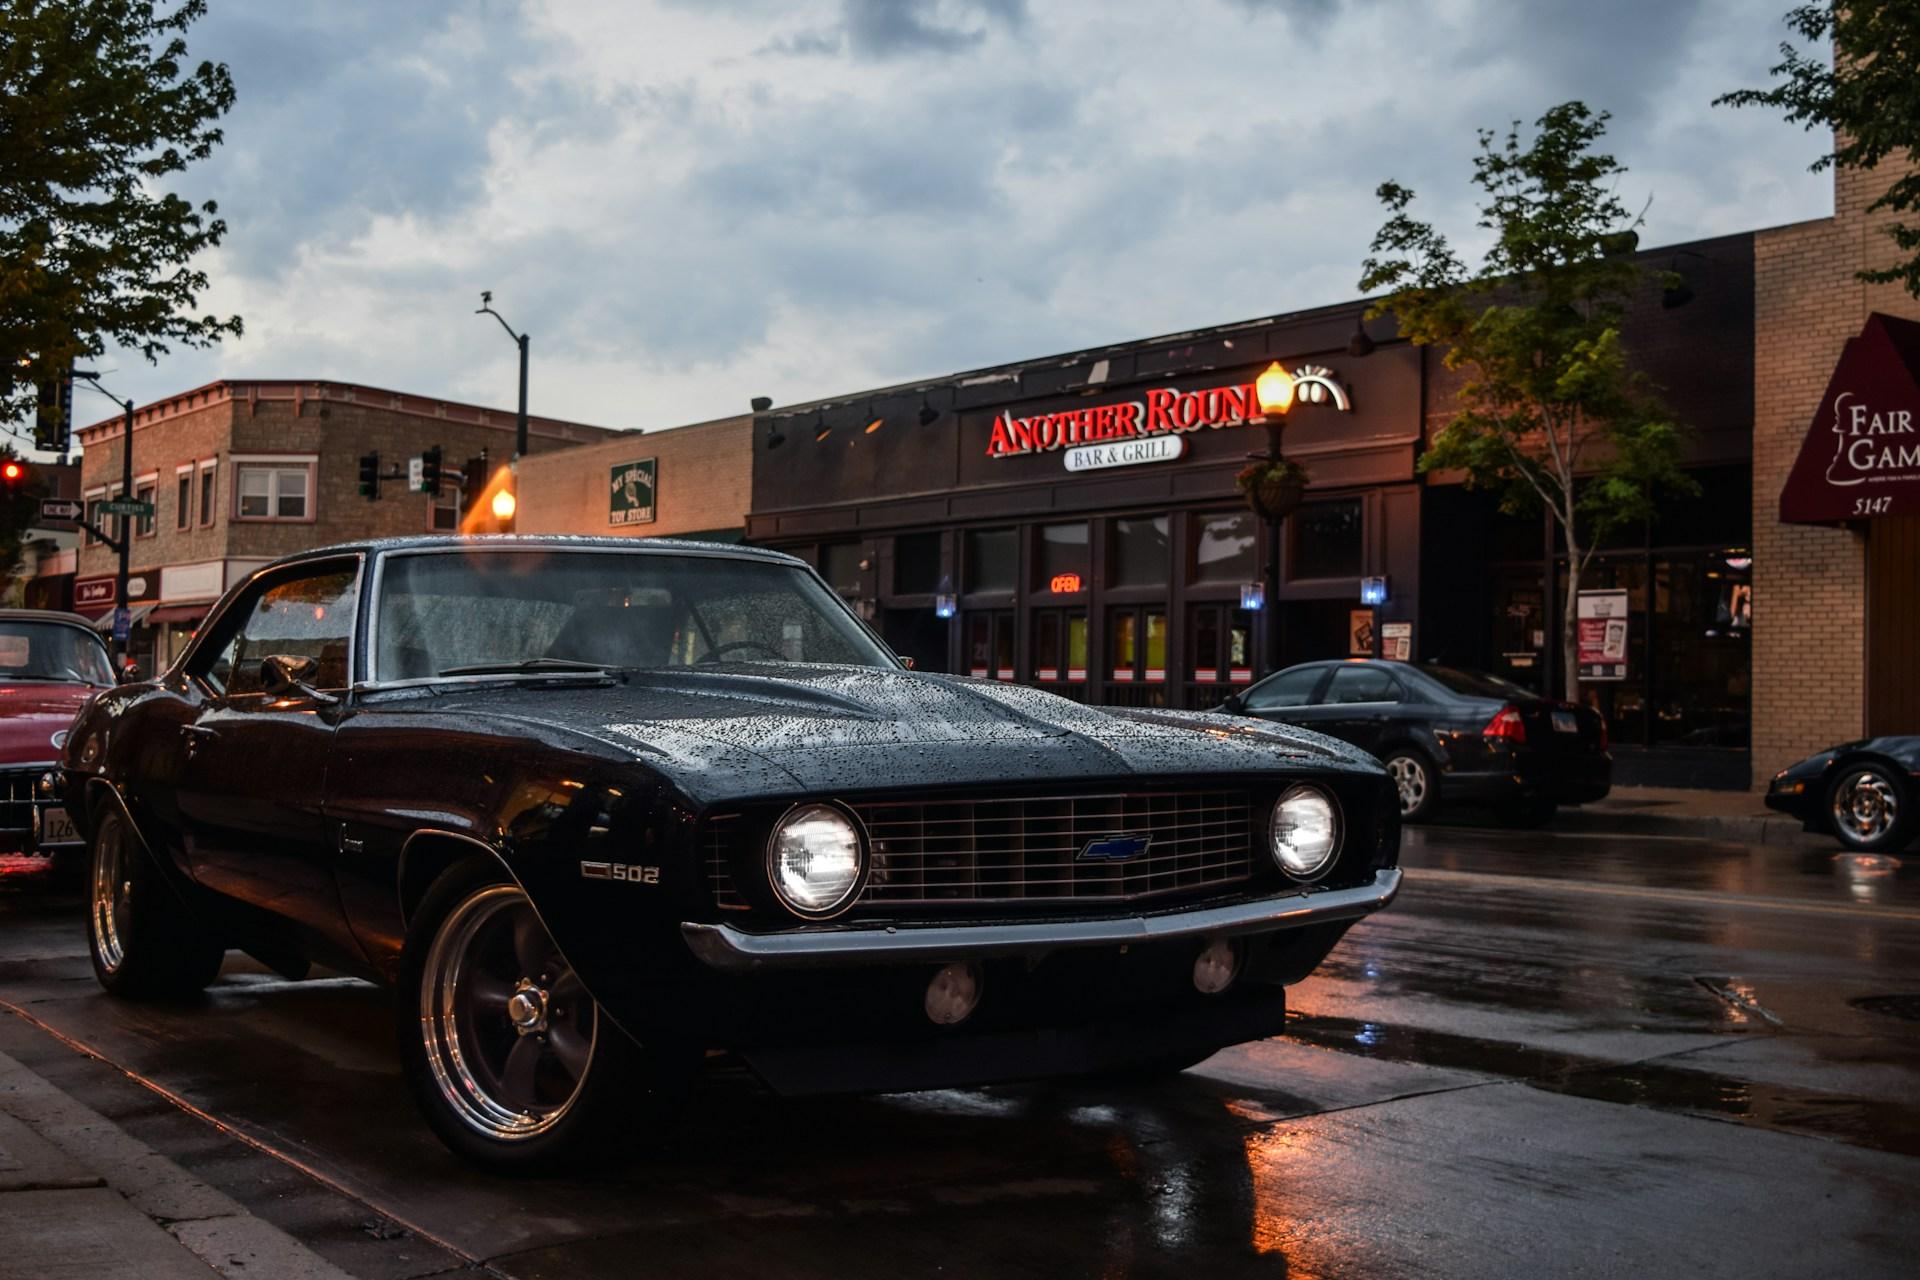
How to Prep Body Panels for a Classic Camaro Paint Job
Posted on: August 9, 2026 in Restoration Guides
Good paint only looks as good as what it’s sitting on. That’s why taking time to prep Camaro body panels before paint matters just as much as the color or finish. Heat, sunlight, and leftover grime under the surface can cause all kinds of surprises once the spray gun comes out. A clean, straight panel gives paint something strong to hold to, and that finish holds longer when the metal underneath isn’t shifting or flaking. Whether you’re restoring a first-gen or later model, proper panel prep keeps the build moving forward and avoids rework down the road.
Late summer is a great window for bodywork. Days are still long but not unbearable, and temps are steady enough to get consistent dry times. That makes it smart timing to start lining everything up before priming and paint. A little attention now prevents issues that don’t show themselves until after the clear coats cure and defects start popping through.
Assessing the Condition of Your Camaro’s Body Panels
Before sanding or stripping, it helps to understand what you’re working with. Some damage hides under faded paint or old body filler. Start by checking each panel from end to end. Use a clean shop light and your hand to feel across the surface. Uneven spots, high points, or stretched areas can tell you where past work was rushed or the panel moved over time.
Make a list as you go. Focus on these areas in particular:
- Rust near wheel arches, door bottoms, and fender wells
- Dents around trim holes or door edges
- Fillers that feel thick or flake when scratched
Any spot that looks questionable probably needs attention. Once a panel is stripped, you might find more repair hidden below. Stretching or shrinking from past damage can show up once the metal cleans. Those flaws will print through even thick primer if they’re not addressed early.
Cleaning and Stripping Old Paint the Right Way
Once you’ve marked the trouble spots, you’ll want to strip down fully to bare metal. Old paint or primer that’s been on for decades can cause issues with adhesion, especially if it has moisture baked into it. Sanding by hand works well for detail areas, and a DA (dual-action sander) with the right grit can speed up larger zones. For heavy or multiple layers, media blasting might save time, but only if the metal is solid and supported underneath.
After stripping, rinse with a wax and grease remover, not just surface cleaner. Paint can bubble from something as simple as silicone residue around badges or decals. Make sure to blow out seams, door jambs, and trim holes where dust and old caulk can build up.
Once you hit shiny metal, you’ve got a countdown running. Even a day of humidity can start light rust blooms. Keep that surface dry and coated in etch primer or seal it until final prep is ready.
Repairing and Replacing Damaged Panels Before Paint
There’s a limit to what filler can fix. Shallow dents or small low spots might get skimmed, but anything buckled or warped past its strength needs more help. Sometimes it comes down to saving time. Fighting a twisted fender takes more effort than swapping in a replacement panel that’s already true.
We’ve found Dynacorn panels line up easier and maintain the original shape better, especially on Camaros. Whether you’re hanging a door or replacing a quarter, that tighter fit puts you ahead going into paint.
Here’s where replacement often makes more sense:
- Rear quarters with rust behind the wheel or under trim
- Doors with separated seams or inner frame damage
- Front fenders with stretched upper curves or poor patchwork
A straight part saves hours in prep and sands clean in fewer passes. That means better primer coverage and less risk of surface waves after final paint.
Test Fitting and Aligning Panels for Seamless Results
Even clean, new panels won’t guarantee perfect gaps. That’s why a dry fit is worth doing before locking anything into place. Bolt the panels loosely and adjust them against each other. Step back and look down the body lines. Are the hood and cowl even? Do the door gaps close clean without overlap? Take the time to get those lines flush.
Watch for trouble spots like:
- Grille spacing that feels tight or uneven
- Door corners that catch against the rocker
- Hood lips not sitting level to the fenders
Shims and small pulls can bring things into alignment before paint. If you wait until after, sanding or modifying a painted surface is far more work, and it risks cracking fresh finish.
Final Prep Tips Before Sending to Paint
As late summer rolls in, days are still warm but not as harsh. It’s a good stretch for final body prep. You want steady temps and no surprise showers, so pick your paint days accordingly.
Get the surface to final sanding by working through finer grits until the scratches feel smooth to the touch. Check seams and tape lines. Any gaps that pull or lift paint will show immediately after spraying. Mask tight and keep hardware off until the paint is cured.
If you plan to move the car for painting, secure panels so nothing shifts. Wrap edges in foam or towel material if gaps are tight. The surface should be clean, cool, and dry before the first coat hits. That includes making sure the body has acclimated to the room temperature to avoid pulling or shrinking.
Get Smooth Results That Last for Years
Panel prep isn’t about doing more work. It’s about doing smart work before the gun comes out. Paint lasts longer and looks better on a surface that’s clean, straight, and well-fit. Gaps stay true. Edges stay clean. And layers don’t have to hide problems underneath.
Whether you’re working with original or replacement Camaro body panels, strong prep takes the guesswork out of the final finish. It keeps things from shifting after paint and saves time from having to sand or fix later. Good prep gives the final look the foundation it needs to stay smooth long after the build is done.
Starting with straight, clean panels makes every step of your project easier, whether you’re repainting from scratch or repairing damaged areas. We’ve seen firsthand how proper prep on the metal streamlines sanding and delivers a smoother base for primer. It all begins with matching panels that fit right and maintain their shape without unwanted surprises. Check out our selection of Camaro body panels to find replacements that align perfectly and help you save time in the booth. Contact Classic Body Parts when you want parts that get the job done right the first time.
Related Articles
Steps to Install Full OER Sheet Metal Kits on Classic Builds
Restoring a classic car is a real investment in time and care. For many of us, the work isn’t just about bringing back something old, it’s about making it st…
How to Restore a Classic GTO After Panel Removal
Restoring a classic GTO after the body panels are removed can feel overwhelming at first. You’re staring at a bare frame or skeleton of what was once a beaut…
Tips for Getting Even Panel Gaps on Vintage Truck Bodies
Lining up body panels on a vintage truck can be one of the trickier parts of a restoration. It seems […]