


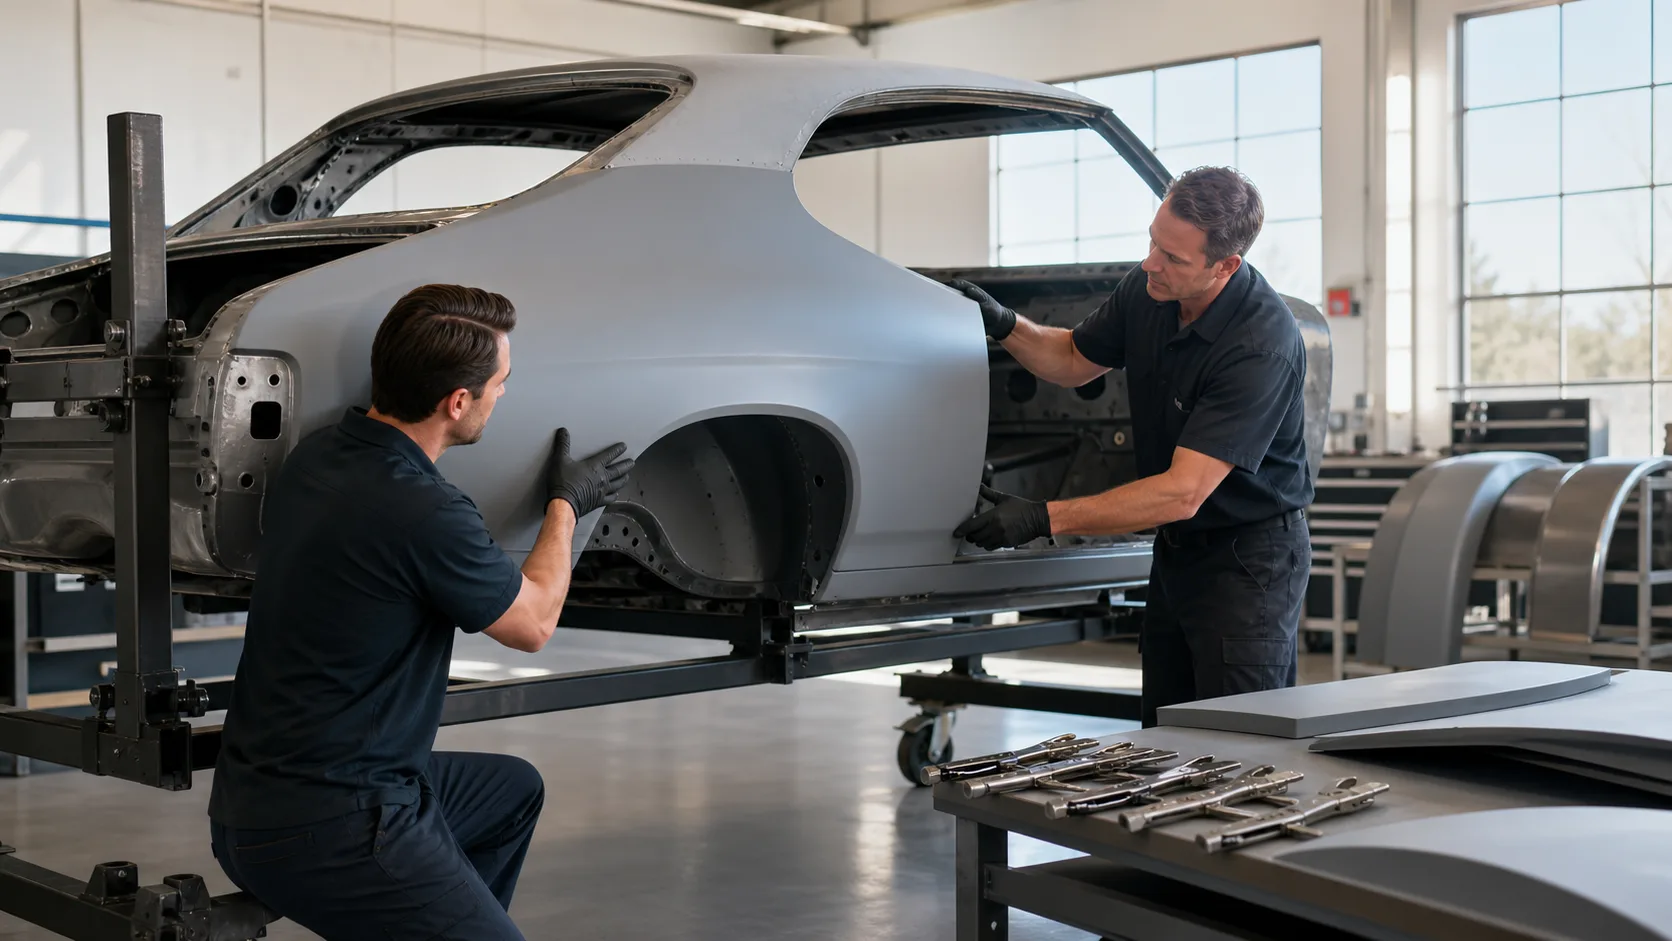
Steps to Install Full OER Sheet Metal Kits on Classic Builds
Posted on: September 24, 2026 in Restoration Guides
Restoring a classic car is a real investment in time and care. For many of us, the work isn’t just about bringing back something old, it’s about making it straight, clean, and solid from the start. Replacing big sections of metal is one of the most direct ways to fix aging or damaged bodies, and that’s where a complete sheet metal kit can change how the job moves forward.
OER car parts are known for their consistent fit and factory-style appearance, which helps make each replacement line up the way it should. Swapping a worn shell with a full set of fresh panels can sometimes speed things up compared to mixing different panels from various sources. If you’re thinking about tackling a full-body upgrade before the cooler fall weather sets in, here’s how to step through it with fewer surprises ahead.
Get Set Up Before the Kit Arrives
Before any real work begins, it’s worth making sure the space, tools, and car are ready. Getting a project off to a good start saves time and avoids headaches later.
Start by clearing up the area around the vehicle so there’s room to walk, move panels, and access both sides. Whether you’re using jack stands or a rotisserie, brace the car securely. The body needs to stay square during disassembly, especially when removing large sections like quarters or floors.
When your OER sheet metal kit lands, take time to check it thoroughly. Lay out every piece and check the list included with the order. Make sure everything you expected is there. If anything’s missing or bent from shipping, now’s the time to spot and replace it.
Next, inspect your build to figure out what might need more attention than expected. Look beneath the surface. Pay attention to things like inner rockers, floor braces, and trunk structure. These are often overlooked but create the base for everything else to attach to. Fixing problems now makes the rest sit straighter later.
Remove Old Panels With Care
Tearing out old steel might sound like demolition work, but a controlled process goes a long way. We never remove more than we can brace in place. If everything comes apart too quickly, structure may twist or sag, making it harder to match replacement panels.
Make a rough roadmap of which panels you’re taking off and in what order. It’s best to leave connecting points like front-to-rear bracing in place as long as possible.
Use tools meant for disassembly. Spot weld cutters help separate panels while keeping the mating flanges intact. Depending on how the car’s been patched or repaired over the years, you might find filler, hidden damage, or random weld beads. Take your time, especially around visible edges you want to keep clean.
Before cutting too far, measure and label. Things like door gaps, trunk spacing, and fender width should match original lines. Bracing inside door and window openings with tubing or angle iron helps hold shape until new panels are ready.
Test Fit and Align New Sheet Metal
Once the old panels are off and the core structure is sound, it’s time to start dry-fitting your new OER car parts. Each panel in the kit is shaped to match original specs, but every car is a bit different. Years of sagging, patching, or frame flex mean small tweaks still pop up.
Start with rough placement. Hang doors, fenders, and quarter panels using clamps or clecos. Bolt together as much of the front clip and rear body panels as you can to test how everything flows as a group.
Pay attention to panel gaps, both where metal meets metal and where trim will later sit. Use shims and clamps to dial in spacing until seams feel factory-wide. This is also the stage to check door swing and trunk closure so hinges work naturally before anything is locked in place.
Dry-fitting helps catch trouble early. If any panel needs extra filing or a flange reshaped, you’ll want to do it before welding anything down.
Weld Panels Into Place In the Right Order
With everything fitted and adjusted, it’s time to commit to final install. Go slow. The order you weld parts matters more than you think.
- Start with anything structural, like crossmembers, floors, or internal bracing.
- Then build outward.
- Quarters and outer fenders come toward the end once the inner pieces are firmly in place.
Weld a little at a time. Jump around between weld spots to spread heat and reduce steel warping. Short stitches, spaced wide, keep both metal and alignment true. Once stitched in, go back around to fill in the gaps if needed.
Take breaks to recheck tape lines and measure again. Sometimes a single weld pulls a panel tighter than expected, causing seams to shift. Pausing gets everything back in line before it goes too far off track.
Prep for Primer and Bodywork
Freshly installed panels are only part of what makes the car ready for paint. The next step is preparing the surface inside and out.
- Begin by smoothing welds. Use burr bits, flap wheels, or flat discs to clean joints, but avoid cutting deep into the new panels. You want clean transitions, not thinned-out seams.
- Once everything is flush, lay down seam sealer inside trunk seams, door posts, and across the firewall where joints may collect moisture. Tight seals help keep rust from creeping back under fresh paint.
- Before applying primer, roughen every panel with a sanding block or scuff pad. Focus on letting primer grip the surface evenly. Then give the car a wipe to remove oils, rust dust, or grinding debris.
Strong Panels Mean Smoother Results
A full-body refresh using matching steel parts can make a huge difference in both build time and finished look. When quarter panels, fenders, and doors are all shaped to the same original specs, there’s less fitting, grinding, or reworking to get things flush.
That alignment creates a better canvas for filler, sanding, and eventually paint. Fewer patches. Straighter lines. Smoother transitions where it matters most. And when door gaps stay even or trunk panels sit low without extra hammering, you know the structure underneath is solid.
Spending extra time during test fitting and welding pays off later with a cleaner finish and more reliable body fit. With the cooler months around the corner, it’s the right stretch on the calendar to handle large panel work now while conditions still favor prep and install.
Here’s why early fall matters
- Metal stays dry and flat in low-moisture conditions, avoiding flash rust.
- Consistent temperatures help panels hold their shape during welding or test fitting.
- You can use natural lighting to check seams and body gaps without shadows throwing your eyes off.
At Classic Body Parts, we know how important it is to keep your classic car restoration on track with panels that fit right the first time. Choosing a full kit lets you align everything for consistent results, making welding and assembly easier and more efficient. Ready to get started with reliable components? OER car parts for panels that match in shape and thickness. Give us a call with any questions about fit or for help finding the best panels for your build.
Related Articles
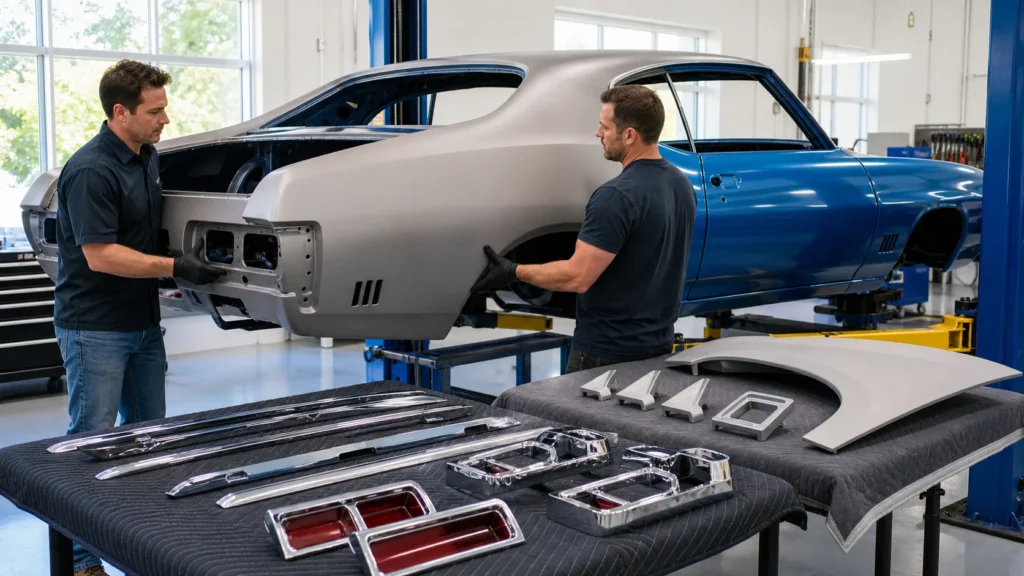
How to Restore a Classic GTO After Panel Removal
Restoring a classic GTO after the body panels are removed can feel overwhelming at first. You’re staring at a bare frame or skeleton of what was once a beaut…
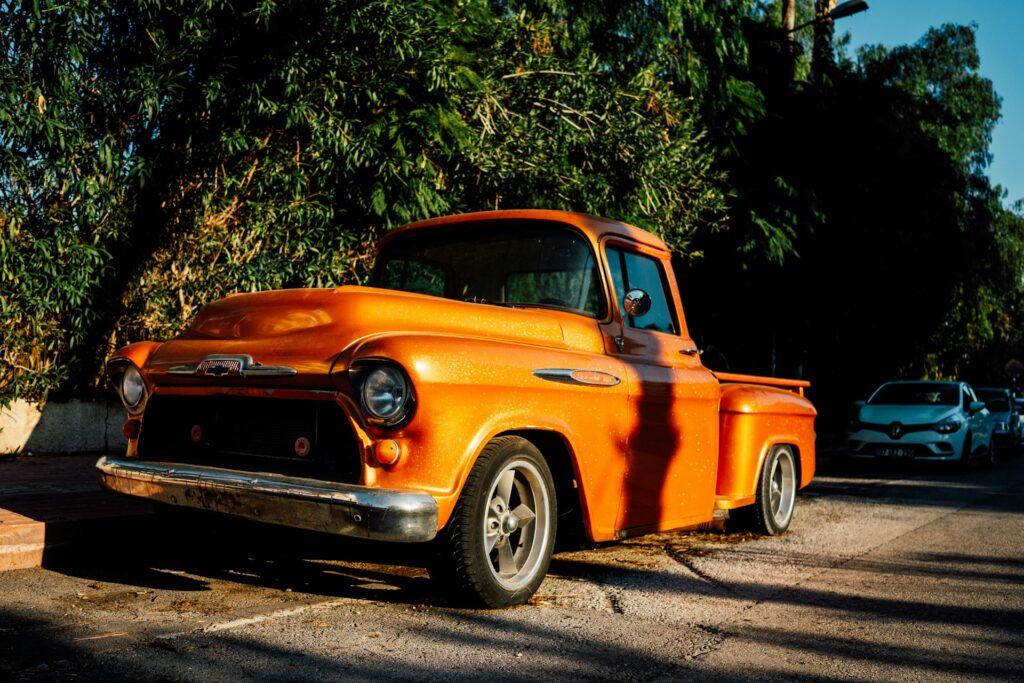
Tips for Getting Even Panel Gaps on Vintage Truck Bodies
Lining up body panels on a vintage truck can be one of the trickier parts of a restoration. It seems […]
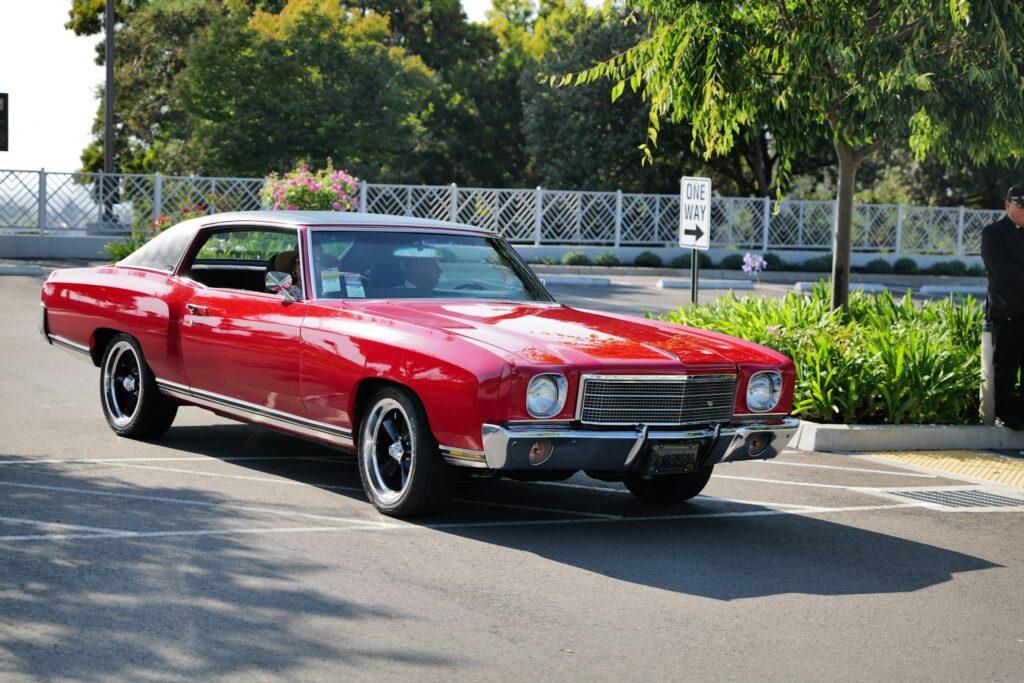
Why Your Classic Car May Need Fender Adjustments Before Fall
Fenders do more than shape a classic car’s look. They guard against road grit, shield inner panels from splashback, and […]